Tips For Shooting A Cinematic Documentary
INTRODUCTION
Documentaries come in all shapes and sizes. Some use re-enactments, others use interviews, while some films only stick to using observational footage. In this video I’ll break down the importance of creating a coherent form and visual style for your film, and go over some technical tips you can use to do so.
FORM
The visually strongest documentaries have a coherent style and overarching vision to them. Basically, choosing a visual approach and sticking to it for the entire film: whether that form relies on a mixed medium approach with archival footage, lets interviews play a prominent role, or means shooting in a completely observational style.
Going a bit deeper, within that overall form, you should think about how you want to visually present your footage and try to maintain a coherence to this look throughout the film. For example, if you’re shooting interviews try to use the same framing techniques for all the interviews throughout, or if you want a steady, observational feel to scenes, then commit to filming only using a tripod whenever is realistically possible.
You want the form and style of the documentary to be coherent and enveloping, not stylistically fractured and distracting.
When it comes to assembling the puzzle that is documentary, I’d say that there are 4 main pieces you can select - 3 of which you have visual control over. Number one, the interview, number two, B-Roll, number three, what I call ‘scenes’ and number four, archive - older footage or photos which have already been shot by other people, which is out of your control.
Some documentaries include all of these pieces, while some only include one - such as archive, or footage from observational scenes.
I like to think about footage other than interviews in terms of being either B-Roll or ‘scenes’. B-Roll is footage that usually doesn’t include dialogue between characters, and is composed of shots that create a mood or convey information. For example establishing shots of a location, more textural or atmospheric shots of objects, or undirected shots of subjects that are used to create a tone.
When I talk about ‘scenes’ this refers to sequences where there is either a dialogue exchange between characters, or a series of continuous shots of a subject are filmed that shows them performing some kind of action. Basically building out a mini narrative sequence of shots, rather than just filming more stand-alone, tonal shots.
INTERVIEW STYLES
Interviews are different as they provide direct, personal testimony from the subject that can be a great tool for conveying information, their thoughts and opinions or creating a narrative arc.
Let’s go over some tips for visually setting up an interview.
The first two decisions you want to make are how you frame the shot, and where the character’s eyeline will be. Whatever choice is made, I’d recommend sticking to the same format for all the sit down interviews in the film to preserve that overarching visual style we discussed earlier.
OFF-CAMERA INTERVIEW
The most traditional way to shoot an interview is by framing the subject in a medium shot or close up - where the bottom of the frame sits around the waist or chest of the character and the top of the frame includes a little bit of headroom. Usually the character will be placed either a bit more left of frame, or right of frame - which opens up their body a little bit and creates some empty, negative space on one side.
The interviewer will then sit next to the camera, with their head at around the same height as the lens. They will usually position themselves on the same side as the negative space. So if a character is placed on the left of frame, with more empty space on the right of frame then the interviewer will sit camera right so that the eyeline of the subject - where they look when they talk - will be orientated towards the open space, which makes the frame feel a bit more comfortable and natural.
This is called an ‘off-camera’ eyeline. A practical reason to shoot interviews like this is because the subject can talk to the interviewer face to face in a more conversational manner.
An off-camera eyeline can also be combined with a host of different farming ideas. Such as placing the character more in the centre of the shot, using a tighter shot size or a wider composition, all the way to shooting the interview from a more extreme profile angle.
Again, whatever frame you decide to go with it’s usually best to be consistent, rather than framing each interview in the film using a different angle and shot size.
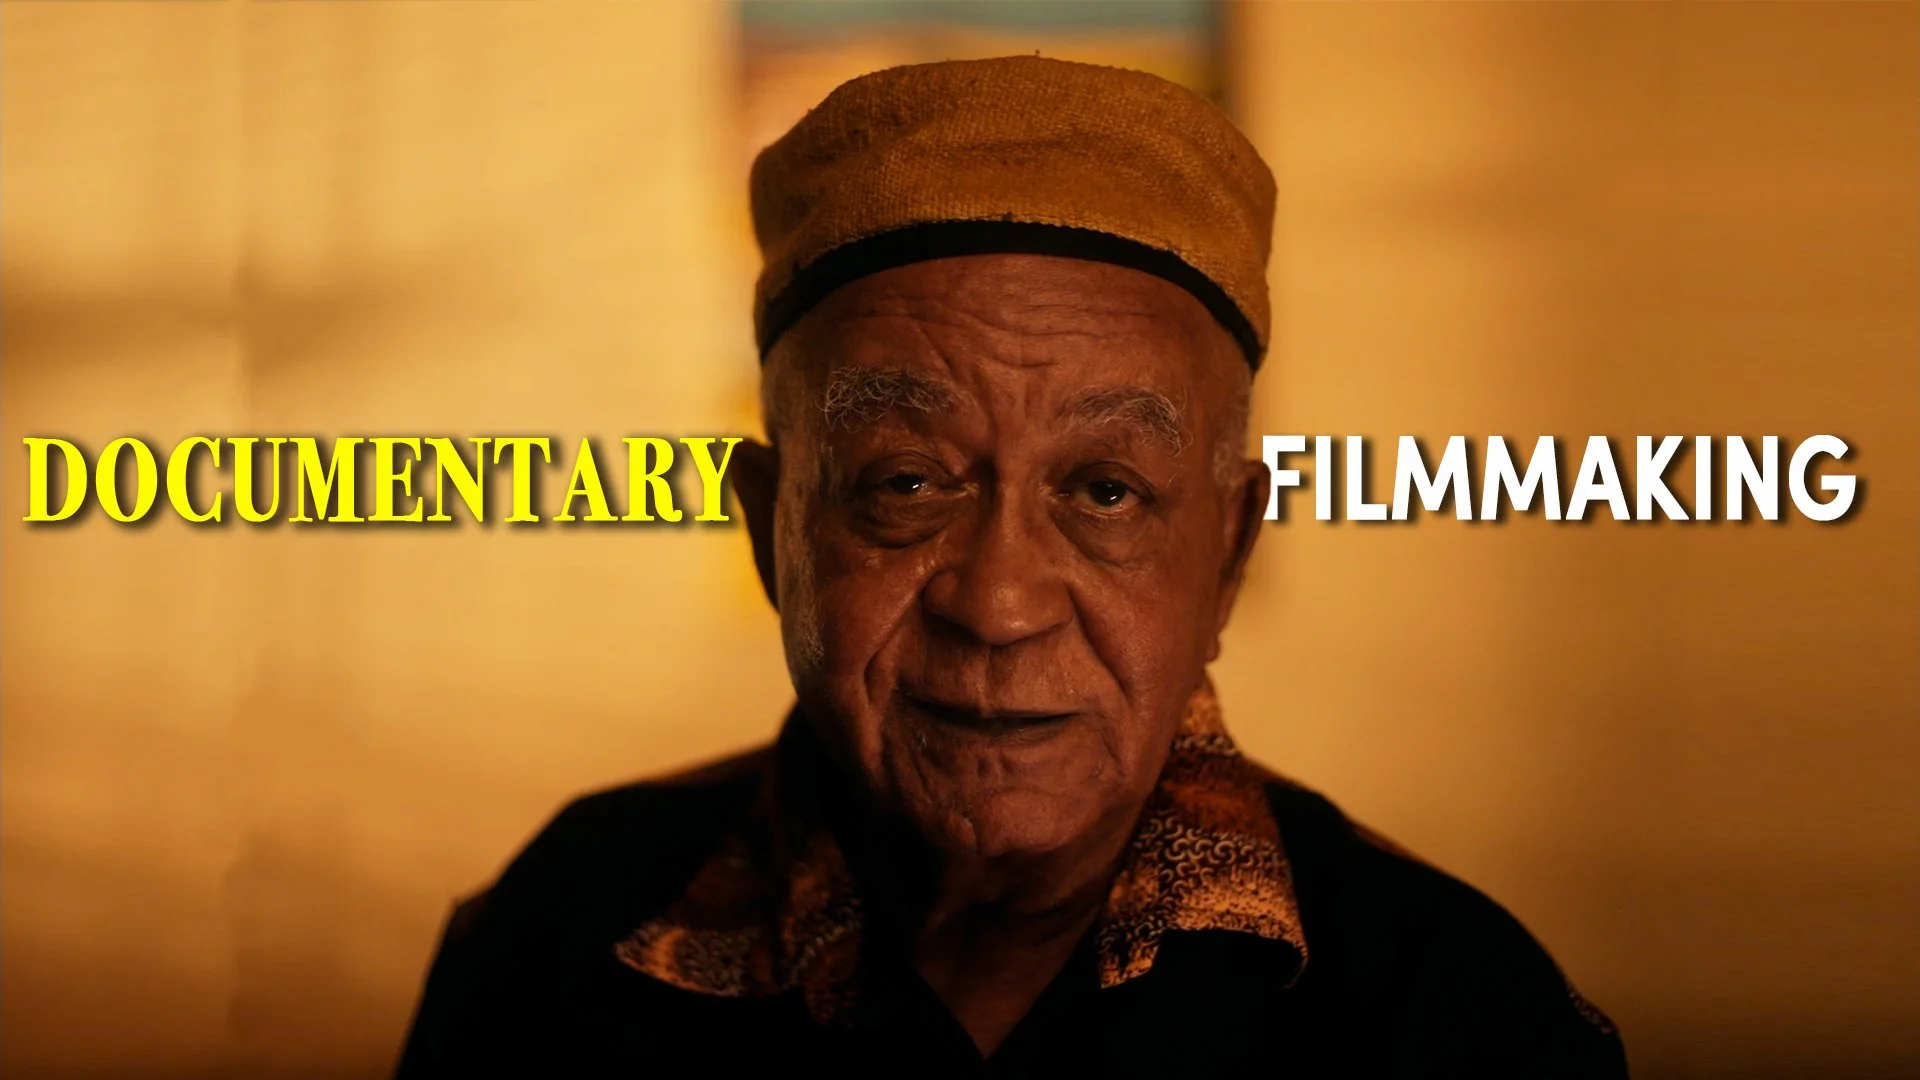
An alternative to this is to use a ‘to-camera’ eyeline - where the subject’s gaze is fixed directly on the lens, looking straight at the audience as they talk. Because they are looking the viewer in the eye, this technique may create more of an intimate, personal feeling than a traditional, off-camera interview.
However, it comes with a practical downside. Trying to get a subject to look straight into the lens when they speak can be quite difficult. Often their eyeline will naturally drift off-camera to the interviewer who is asking the questions.
But, there is a solution to this which I’ve used. It’s based on a technique famously created by documentarian Errol Morris.
TO-CAMERA INTERVIEW
The Interrotron setup uses a teleprompter that is set up in front of the camera's lens. This would usually project text onto a piece of angled glass so that the person in front of the camera, like a news presenter, can read from it. However what we want to do is swap out the text with the face of the interviewer.
There are a few ways of doing this, but the setup I use involves wirelessly transmitting a video feed over wifi - using something like a Hollyland Mars wireless transmitter - from a low cost DSLR which is pointed at the interviewer, to an iPad, which is placed at the base of the teleprompter - that then gets projected onto the teleprompter screen.
I’ll then run a wired feed with an SDI cable from the camera that is actually shooting the interview to a monitor which I can place in front of the interviewer. That way the subject can see the interviewer on the teleprompter - which will make them look straight into the lens - and the interviewer can see the subject on a monitor.
This allows them to have a natural conversation, while the subject maintains a to-camera eyeline - kind of like how you would on a video conference call.
The straight-on directness of to-camera eyelines lends itself to symmetry and central framing. Therefore the subject is usually placed in the centre of the shot. Here’s an example of a tight, personal to-camera eyeline interview that I shot for director Jessie Zinn for a short doccie called Faces Of Fortune.
SHOOTING A SCENE
Now that you’ve decided on an interview format, and shot the character’s testimonial, you’ll probably want to fill it in with some of those observational ‘scenes’ or B-Roll that I talked about earlier.
There are many ways to do this. A lot of the approach to filming scenes will be dependent on the subject matter of what you’re filming. If you’re shooting in a war zone then obviously you’ll just have to run and gun and grab whatever footage you can. However, if a more controlled shooting environment is possible here’s how I tend to approach it.
Usually the director will want to give the subject or subjects some kind of action to perform - something which they would naturally do in real life. This could be anything from having a conversation with their friends, trying on clothing, to taking care and interacting with an animal.
Once I know what they will be doing I like to ‘block’ the scene. I use this term very loosely to mean that we’ll work out a space where the action will take place.
I’ll then create a sort of mental frame for the wider shot that we’ll need to film, think about what composition will work well for this, what objects we may want to add or remove from the shot and what I’d like the lighting to do.
The reason I always like to start wide is because then you know the cutoff point for where you can place gear, like a microphone or a light, without it being in the shot.
You don’t want to start by framing a close up and then move wide, only to find out that you need to stop shooting to move gear or remove an object from the frame that is visually unappealing. What you want is to set things up as much as you can so that once you start rolling the camera you don’t need to stop until the scene is finished playing out.
This means that if you choose to light a space, you want to do so in a way where the light placement will work well for the entire sequence. In other words, lighting the space itself, rather than a specific close up shot.
For this reason I usually like to use as few light sources as possible. For example if it’s a dialogue scene in a bedroom with a single window, I’ll place the fixture outside the window to give the natural light a bit more shape, contrast and consistency.
This frees me up to move quickly within the room without having to avoid gear or stands, and rapidly reframe shots to capture all the angles needed to cut the scene together as the actions play out in real time.
Again, I like to do this by first framing a wide, then as the scene plays out pushing in closer to shoot mids or close ups. Often if it’s a conversational scene, I’ll return to shooting a wide or a two-shot of the characters talking as it progresses, and finally go back to end on the wide as the scene dwindles out - to give the director a quieter, long shot to end the scene on.
Although it may seem counter intuitive, when you’re shooting a conversation it’s equally as important, if not more important, to get shots of whoever is not speaking, not only getting shots of whoever is talking.
We like to call these ‘reaction shots’. Having these in the edit allows the director to cut to a shot of whoever is not talking, and place it over shots of the character talking when they want to cut up and only use little bits of what they are saying. It’s a good way of hiding what would otherwise be jump cuts.
Although we’ll always try to get all the shots we need in real time, it is sometimes possible once you finish a scene to go back and ask the subject to repeat a specific action again that the camera may have missed. Usually it helps to film these shots tighter, so that they can be used as an insert without breaking continuity or jump cutting.

