The 2 Ways To Shoot Car Scenes
INTRODUCTION
A general rule in cinematography is the more variables a scene in a script has, the more difficult it is to film.
Car scenes come with a lot of moving parts…literally. This presents some challenges. However, since over the years countless scenes have been written, set and filmed inside of moving cars, some standardised cinematographic methods have emerged to handle these situations.
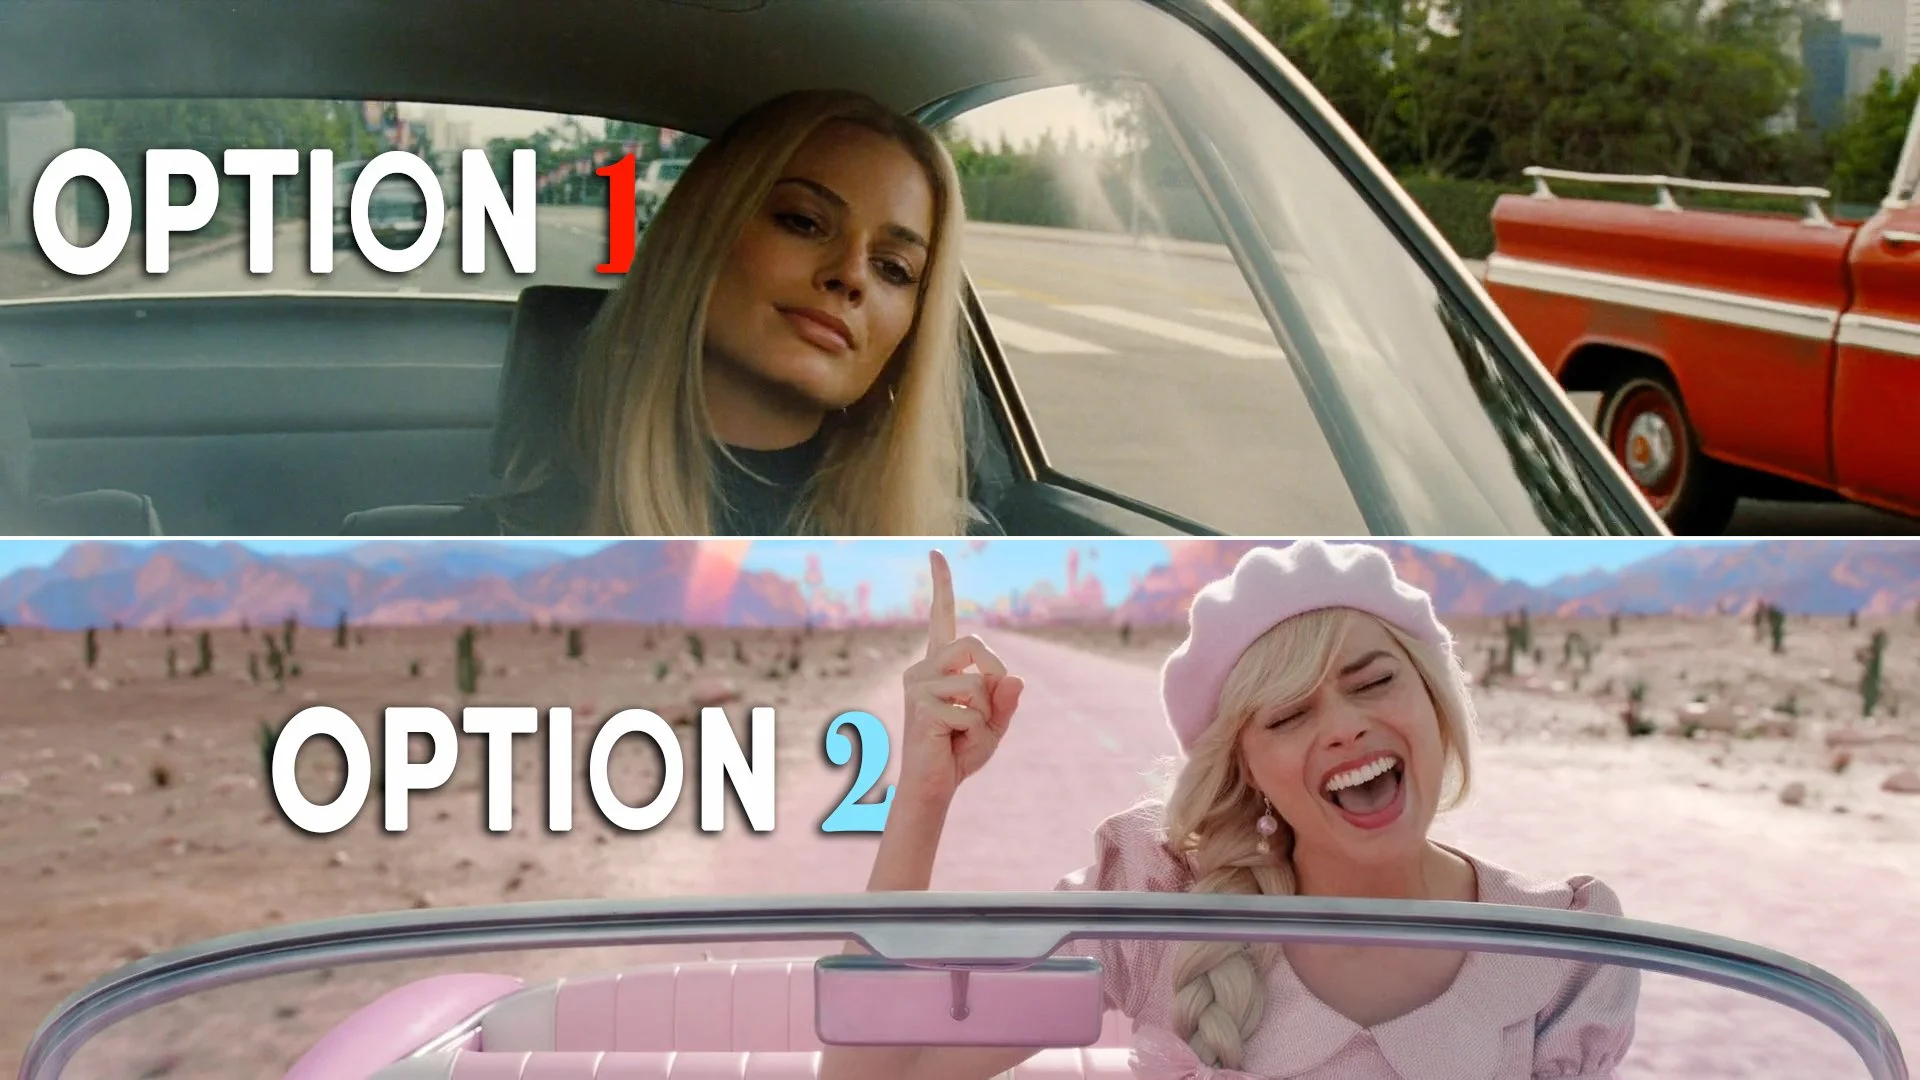
In fact there are two main ways of pulling off these shots: one method is done practically with real locations and a rig called a process trailer, and the other way is achieved through a bit of filmmaking trickery and is called a ‘poor man’s’ process trailer.
So, let’s break down how these two techniques work, the gear involved, and some reasons why filmmakers may choose one method over the other in different situations.
PROCESS TRAILER

To be able to cut together a dialogue scene filmmakers need to shoot multiple angles of the scene being performed, multiple times. Therefore, it’s important that there is a high level of consistency among all of the different takes, so that when shots filmed at different times are placed next to each other there is an illusion that the scene is continuous and unfolding in real time.
This is why cars present a bit of a snag. Consistency over a long shooting period can be difficult when traffic is unpredictable, the background outside the window changes, the driver alters how fast or slow they are accelerating, and the lighting conditions morph as they drive past different areas that may cause shadows or different angles of light.
Also, asking an actor to drive and perform dialogue at the same time can be a bit too much multitasking and diminish the performance, or even be dangerous as their attention to their driving will be compromised.
For this reason, car dialogue scenes shot while driving on roads are almost always done with a rig called a process trailer. Sometimes also called a low loader, this is a trailer with wheels and a platform big enough to fit a car on - which the actors sit inside - that can be towed by another vehicle. The car that is shown on camera is referred to as the ‘picture vehicle’.
Process trailers need to sit very low to the ground so as to give the illusion that the picture car is driving. If it is too raised then the perspective will be off.
Most low loaders are designed with a front cab section that the driver sits in and a rear section behind the cab with mounting points for lights, a director’s monitor, space for essential crew to sit, gear to get stored, and generators to be mounted that can run power.

This front section then tows the process trailer which the picture car sits on.
The actors sit inside the picture vehicle and the camera operator is placed on the trailer, usually outside the vehicle, and films the scene as the actor’s play out each take and pretend to drive. Meanwhile the actual driving will be done inside the front cab by a professional low loader driver.
Any camera operators, focus pullers or other essential crew that need to be on the trailer section have to be harnessed in for safety and contained by a barrier of mounted poles that grips build.

The route that will be driven by the low loader will be carefully planned ahead of production and will almost always involve getting permission and paying for permits from the local government. They will often insist that a police escort is used to drive in front of or near the process trailer and may even require that some roads need to be closed or blocked off during shooting for the safety of the public.
To provide a consistent background and limit blocking off roads to a small area, the driving route will usually either be looped, or it will be a route that has a turning point at the end of it - which can be driven each time for multiple takes.
This turning point will have to be scouted in advance by the driver to ensure there is enough space to perform a u-turn with the elongated, low clearance vehicle.
There are a number of different shot options that can be used on a process trailer.
Often, cinematographers will shoot from a stabilised platform like a tripod or car mount which the grips can secure on the process trailer, outside the picture car.
Common angles are shooting a two shot front on, through the windscreen, then punching in for close ups on each actor though their respective side window.

The camera could also be rigged or shot handheld from inside the picture vehicle.
I’ve also witnessed some DPs who like to operate a handheld camera on an Easyrig, and position themselves just outside the open side windows - especially for car commercials.
If shooting through windows DPs will almost always use a rota pola filter. As the name suggests this polariser glass can be rotated by turning a wheel, to position the filter so that the polariser effect minimises the reflections from the glass. This allows the camera to see the actors inside the car without being blocked by reflections.

Some complex camera moves beyond locked off frames can also be achieved, such as this. Which is done by shooting off a Scorpio 10 - which is a small telescoping crane arm - that is rigged to the process trailer and moved by a grip. It has a mini Libra head attached to it, which means the camera can be tilted, panned or rolled remotely by an operator using wheels.
In this case they achieved these tricky moves by removing the car’s side doors and shooting through the passenger side of the vehicle. They shot all the moves practically then later inserted the window’s glass and reflections with VFX.

Cinematographers will often get their team to rig a fill light on the process trailer. Usually this is quite a soft light with some spread, such as Skypanels or an HMI with diffusion. This will lift the level of ambient light inside the vehicle which will be much darker than the bright levels of natural ambience outside, yet be soft and not too directional so as to mask that the shot is being lit at all.
It’s also possible to use a car mount, where the camera is attached directly onto the car by grips through using a mounting mechanism that is usually secured through poles with suction cups that stick onto the car’s body, or with a rig called a hostess tray.
In this case, some actors may be able to do their own stunt driving without a process trailer for scenes without dialogue. It may also be possible to use a professional driver that stands in as a double for the actor, which requires shooting at an angle that doesn’t reveal too much of the driver’s identity.

POOR MAN’S PROCESS TRAILER
As nice as it is to shoot driving scenes for real by using a process trailer, this method does come with a number of disadvantages. For this reason, filmmakers also came up with a second, artificial method for capturing these shots - which is referred to as the ‘poor man’s process trailer’.
There are a few different methods of doing this, but basically it involves placing the stationary car in a low light environment, like a studio, then using lighting, giving the car a shake, and creating a simulated background to give the illusion that the actors are in a moving car.

There are four main ways that this can be done: with projection, with lighting, with a green screen or with volumetric lighting from giant LED screens.
Although there are different nuances to each of these methods, they are set up in a similar way. First, a background is placed behind the area where the shot will take place. So if the shot is a close up of a driver, then a projection surface will be set up behind the picture vehicle in the same directional line that the camera is pointing.
A projector will then hit that surface with a pre-recorded clip shot out of a moving vehicle which plays out for at least the length of a full take. It’s, of course, important that the video loop in the background is shot at the same angle as the shot which you line up and is moving in the right direction.
The alternative to this is to replace the projection surface with an illuminated green or blue screen. Then in post production key the green and replace it with the video clip of the moving background.

A higher budget version of these two methods is to use volumetric lighting - which is basically gigantic LED video panels that output a brighter luminance. Again, clips can be played by these video walls, which can usually be controlled by software that can also do things like defocus and shift the perspective of the video.

Because of the increased levels of light output from these panels, you also get more realistic production of light, so any highlights in the video clip will produce brighter areas or reflections in the lighting, and any changes in colour will change the colour of the light that hits the subject.
Once you’ve set your background, then it’s time for cinematographers to work on the lighting. How this is done will depend on whether it’s a day or night scene and is based on the discretion of the cinematographer. But, usually it will involve adding some kind of ambience to the scene, like a bounced source that softens and spreads the light while raising the general exposure levels.
Then you’ll usually want to set up some moving light sources to simulate that the car is in motion. This can be done by loosening the lock off on a stand and swivelling a light around. Or, what I’ve found works quite well, is to get a few people to swing around some handheld LED tube sources.
To get the feeling of camera motion to be realistic, I’ve also found that shooting with a handheld camera combined with getting people to randomly shake the picture vehicle tends to give a more accurate feeling of motion than shooting a locked off frame.
ADVANTAGES AND DISADVANTAGES OF THE PROCESS TRAILER
One of the biggest reasons why filmmakers chose to shoot car scenes in this way rather than with a real process trailer is because of budget. Shooting with a full police escort and locking off roads can become incredibly pricey.
The cost of renting out a studio, or even shooting outside in a parking lot, is going to be far cheaper than renting a low loader and paying for road closures and permits.
Having said that, if you want to shoot with a large volumetric LED wall in a big film studio, then it quickly moves away from being a ‘poor man’s’ method and will probably be a similar financial spend to shooting with a real process trailer.
So, taking budget out of the equation, what are some of the advantages and tradeoffs of each method?
Basically, shooting with a process trailer offers a realistic look, with little vibrations and real world, interactive lighting, that is difficult to match, while shooting with a ‘poor man’s process trailer’ offers much more ease and convenience.
It’s much easier to record clean dialogue when working in a soundproof studio environment than when working out on real roads.
It’s also significantly faster and easier to change between setups when working in a studio, than when working from a low loader - which often requires driving the vehicle to a stopping point, then getting a full grips team to re-rig the camera so that it is safe and secured.
It’s also far more convenient for the director. When shooting in a studio they can clearly watch every shot on a monitor, and stroll over and give notes or have conversations with actors between takes. Whereas shooting on a process trailer usually involves more staggered communication and direction over a radio.
Studio environments also give cinematographers far more visual control. For example, when shooting outdoors the sun position will change over time, the light may go in and out of clouds during takes changing its exposure and quality, you may get unwanted reflections off the glass or hit a bumpy section of road that moves the camera too much.
In a studio lights can be set to a consistent intensity and position, lens changes and camera moves are easy, as you work off a flat, unmoving surface - ensuring that take after take can be visually repeated in the same way.
Also any technical glitches are easy to fix right away, whereas if a focus motor slips or a monitor loses a transmitted video feed on a process trailer, you’ll have to bring the whole moving circus to a safe stop to fix the problem - which is time consuming.
A final disadvantage to working with a process trailer is that it forces you to face the camera towards the windscreen of the picture vehicle or shoot side on.
Shooting from behind and looking out of the front windscreen requires renting a niche vehicle where the driver’s controls are placed behind the picture vehicle - which can be a lot of effort for a single shot, compared to just turning the car around inside a studio against a moving background.

CONCLUSION
Despite the logistical challenges and inconveniences, some filmmakers with a budget still opt to shoot the real thing. Prioritising the realistic visual nuances that come straight out of the box when working with a process trailer.